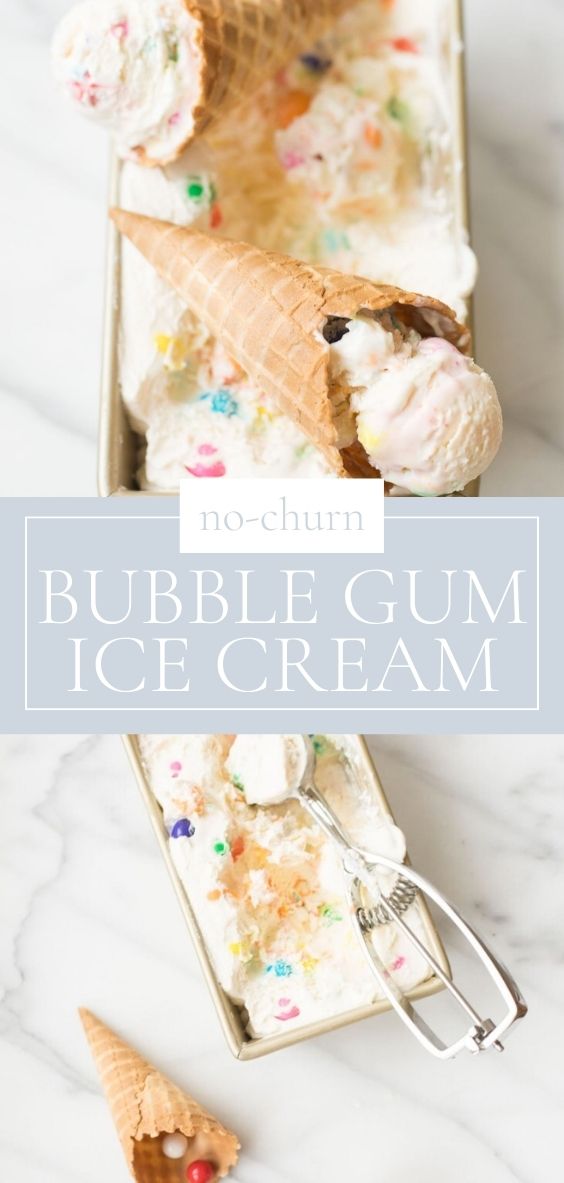
Bubble gum ice cream will make you feel like a kid again. It is made with just four ingredients in five minutes of hands-on time! Bonus – there is no churning required! This ice cream recipe doesn’t require special tools or equipment. It’s the stuff childhood dreams are made of!
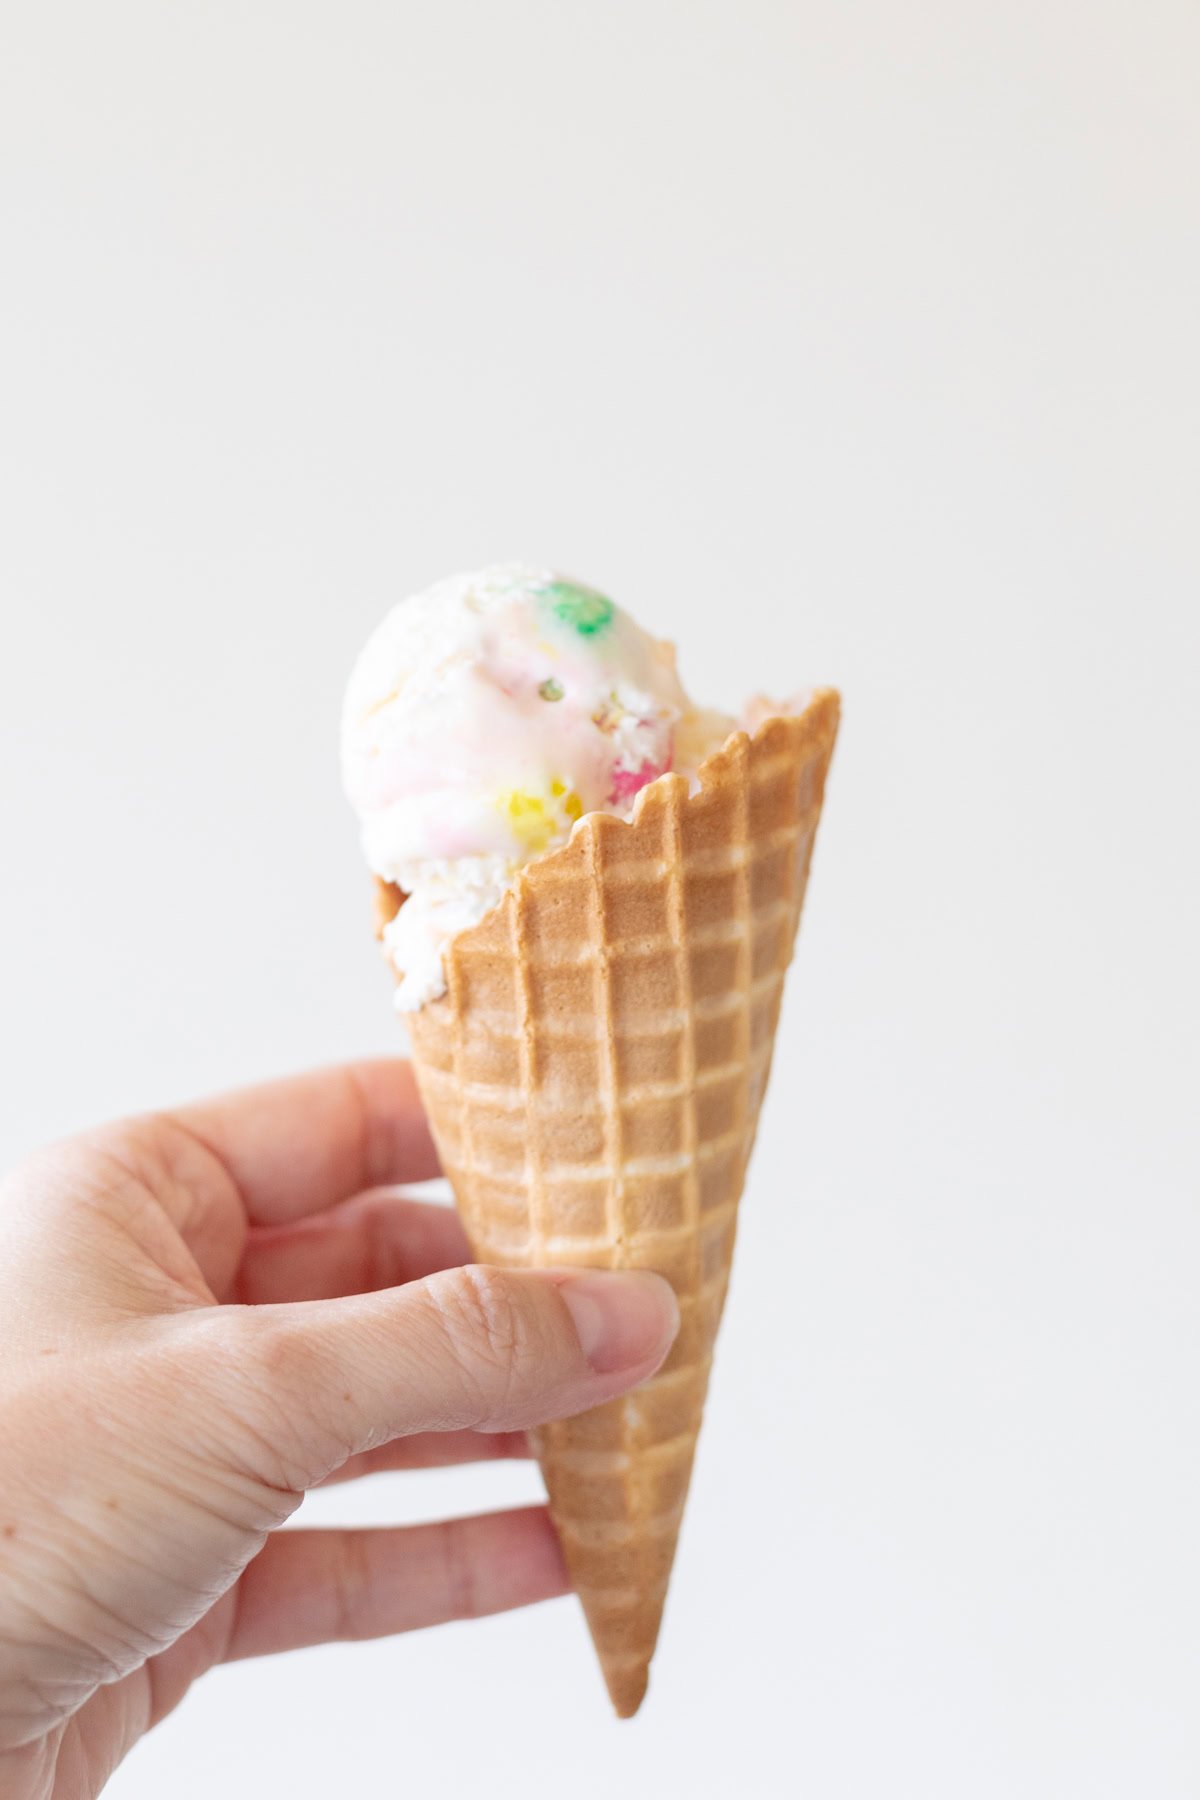
Each time I make this ice cream, I have feelings of nostalgia. It reminds me of birthdays, dance recitals, and simple summer outings. Any special occasion or sunny day was an excuse to get my favorite childhood ice cream. I never could get enough of it. I wanted to create a version I could make with my kids.
Bubble gum ice cream is essentially two special treats in one. It’s two of my favorite flavors, ice cream and coveted bubble gum, rolled into one perfect dessert (which we were rarely granted as children being daughters of a dental hygienist).

Why You’ll Love this Recipe
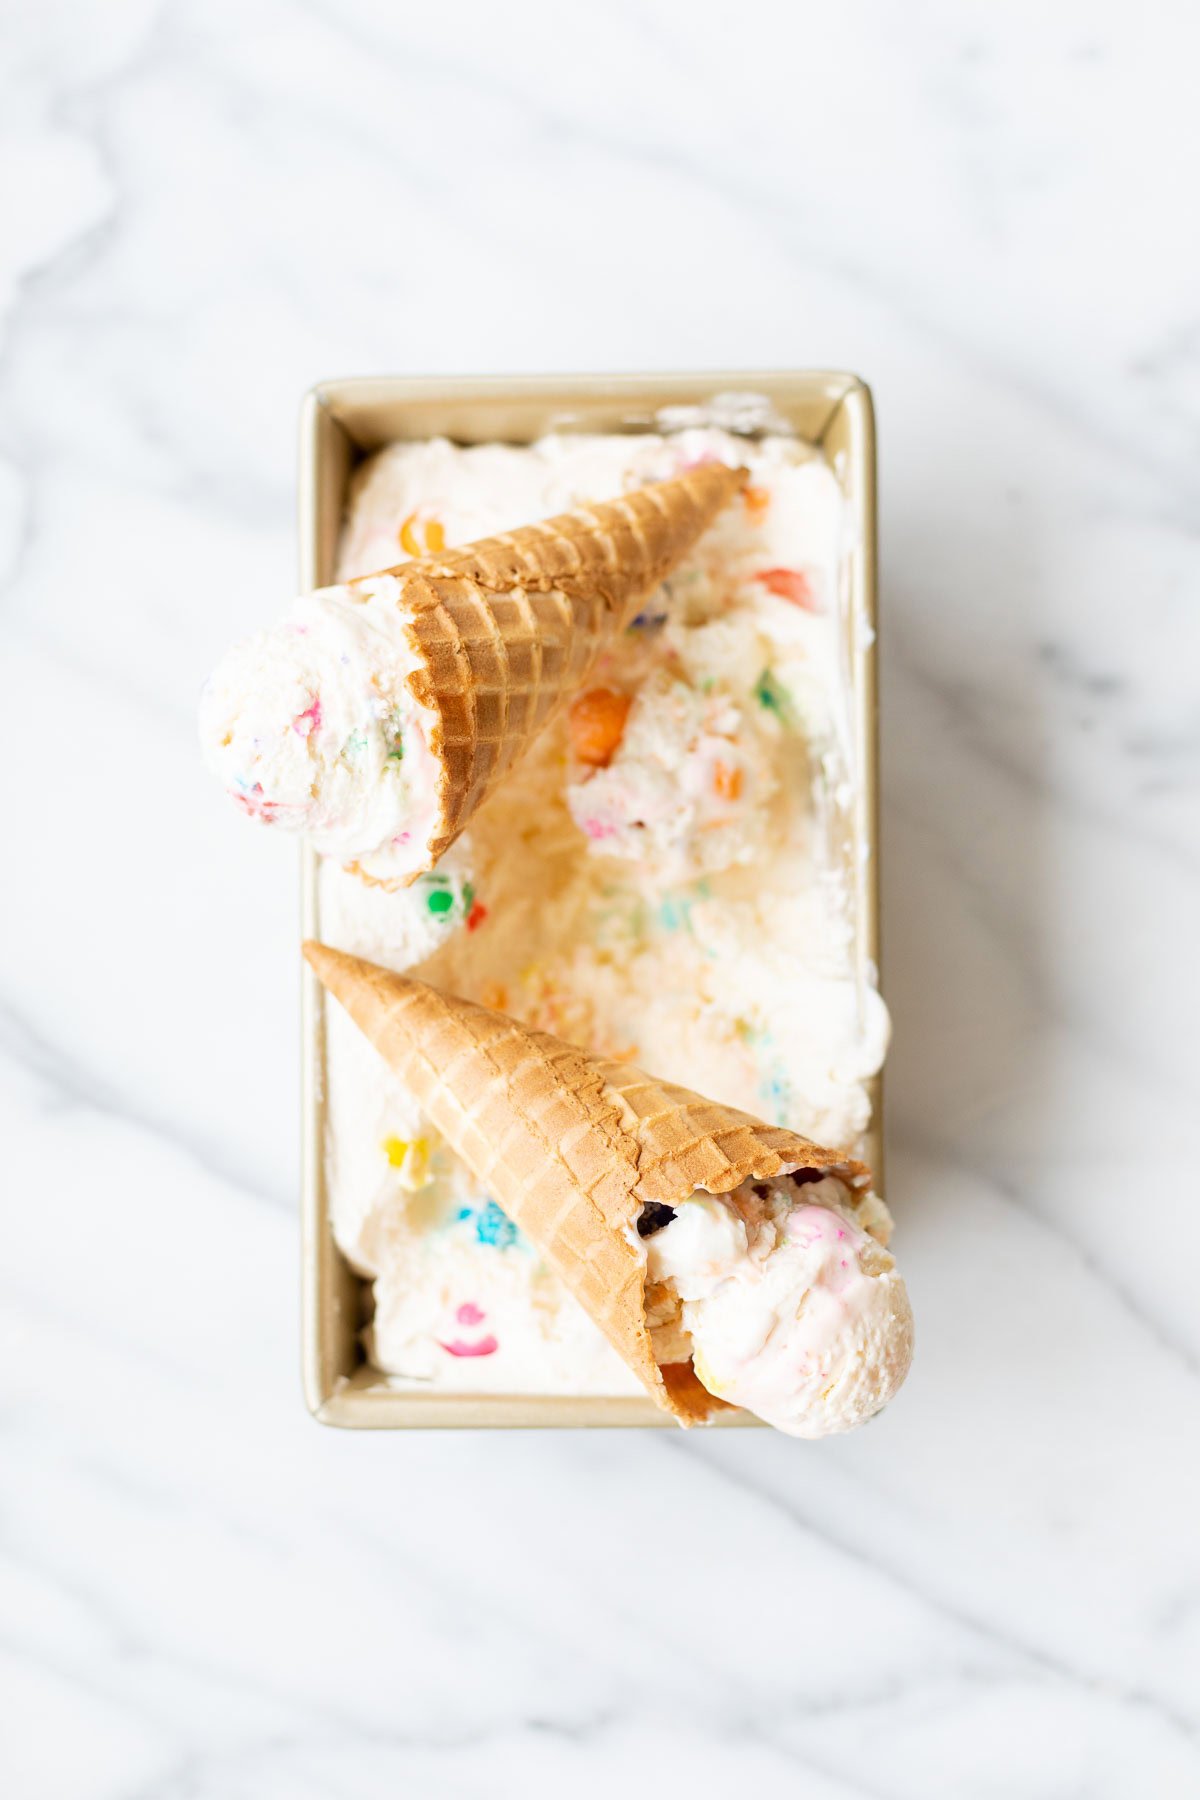
- Bubble gum ice cream is made with just four ingredients!
- It’s the ultimate kid-friendly ice cream. Serve it up at any event that involves children – birthday parties, tea parties, swim parties, a neighborhood block party, the list goes on!
- Make it ahead! It’s simple to whip up and freeze hours before, a day ahead, or even the week prior your event.
Ingredients
- Heavy Whipping Cream – The foundation for this no churn ice cream that gives it such rich, creamy flavor.
- Sweetened Condensed Milk – This ingredient sweetens the ice cream.
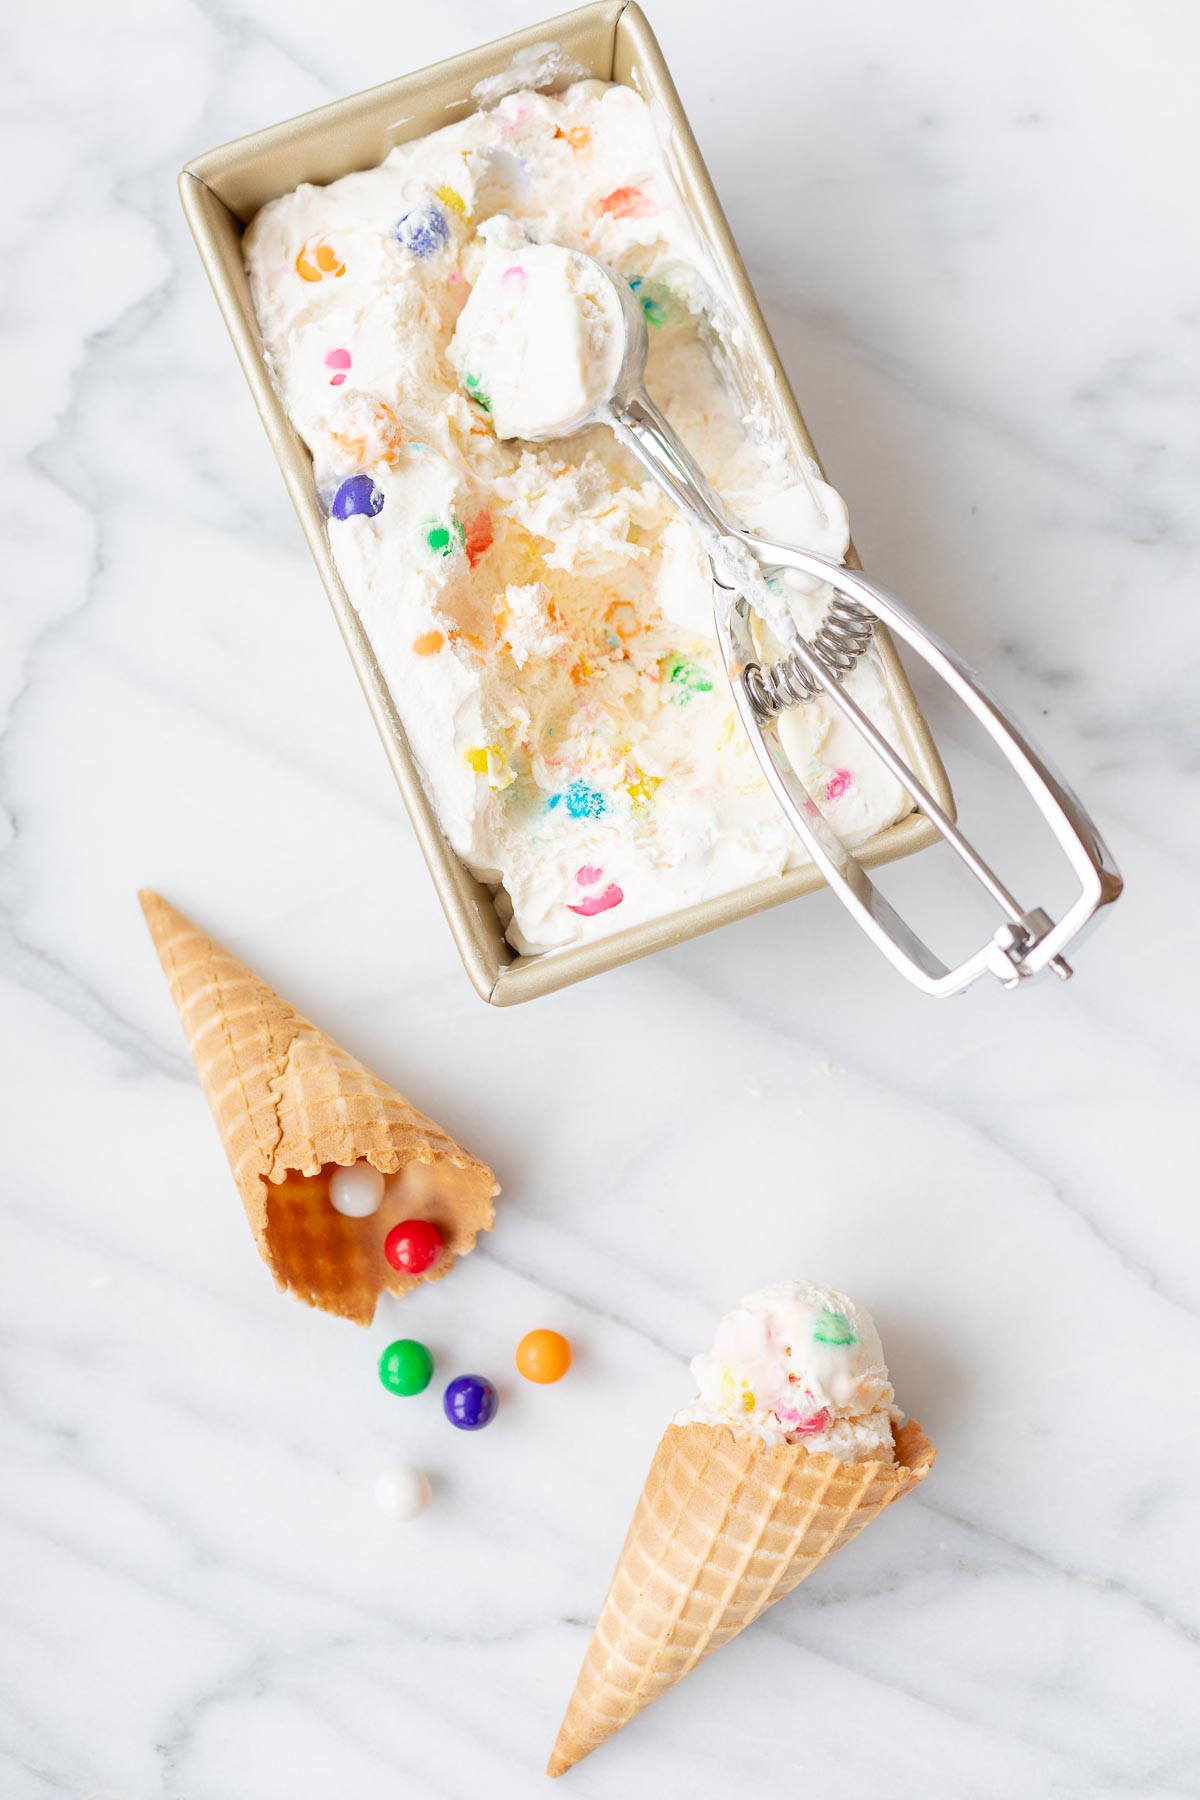
- Bubble Gum Flavor – A hint of bubble gum flavor. You can find it in your local craft store or here.
- Bubble Gum Balls – Classic gum balls are the basis for this sweet treat and add an array of colors. They also add to the bubble gum flavor. You can purchase the gum balls here to save a trip to the store. Bubblegum balls are easy to find at most retail stores including big box stores, drug stores, and grocery stores.
Optional Variation
Food Coloring – Make pink or blue bubble gum ice cream by adding just add a few drops of red or blue food coloring. My girls are just as happy seeing little rainbow swirls from the gum balls.

Tip from my Test Kitchen
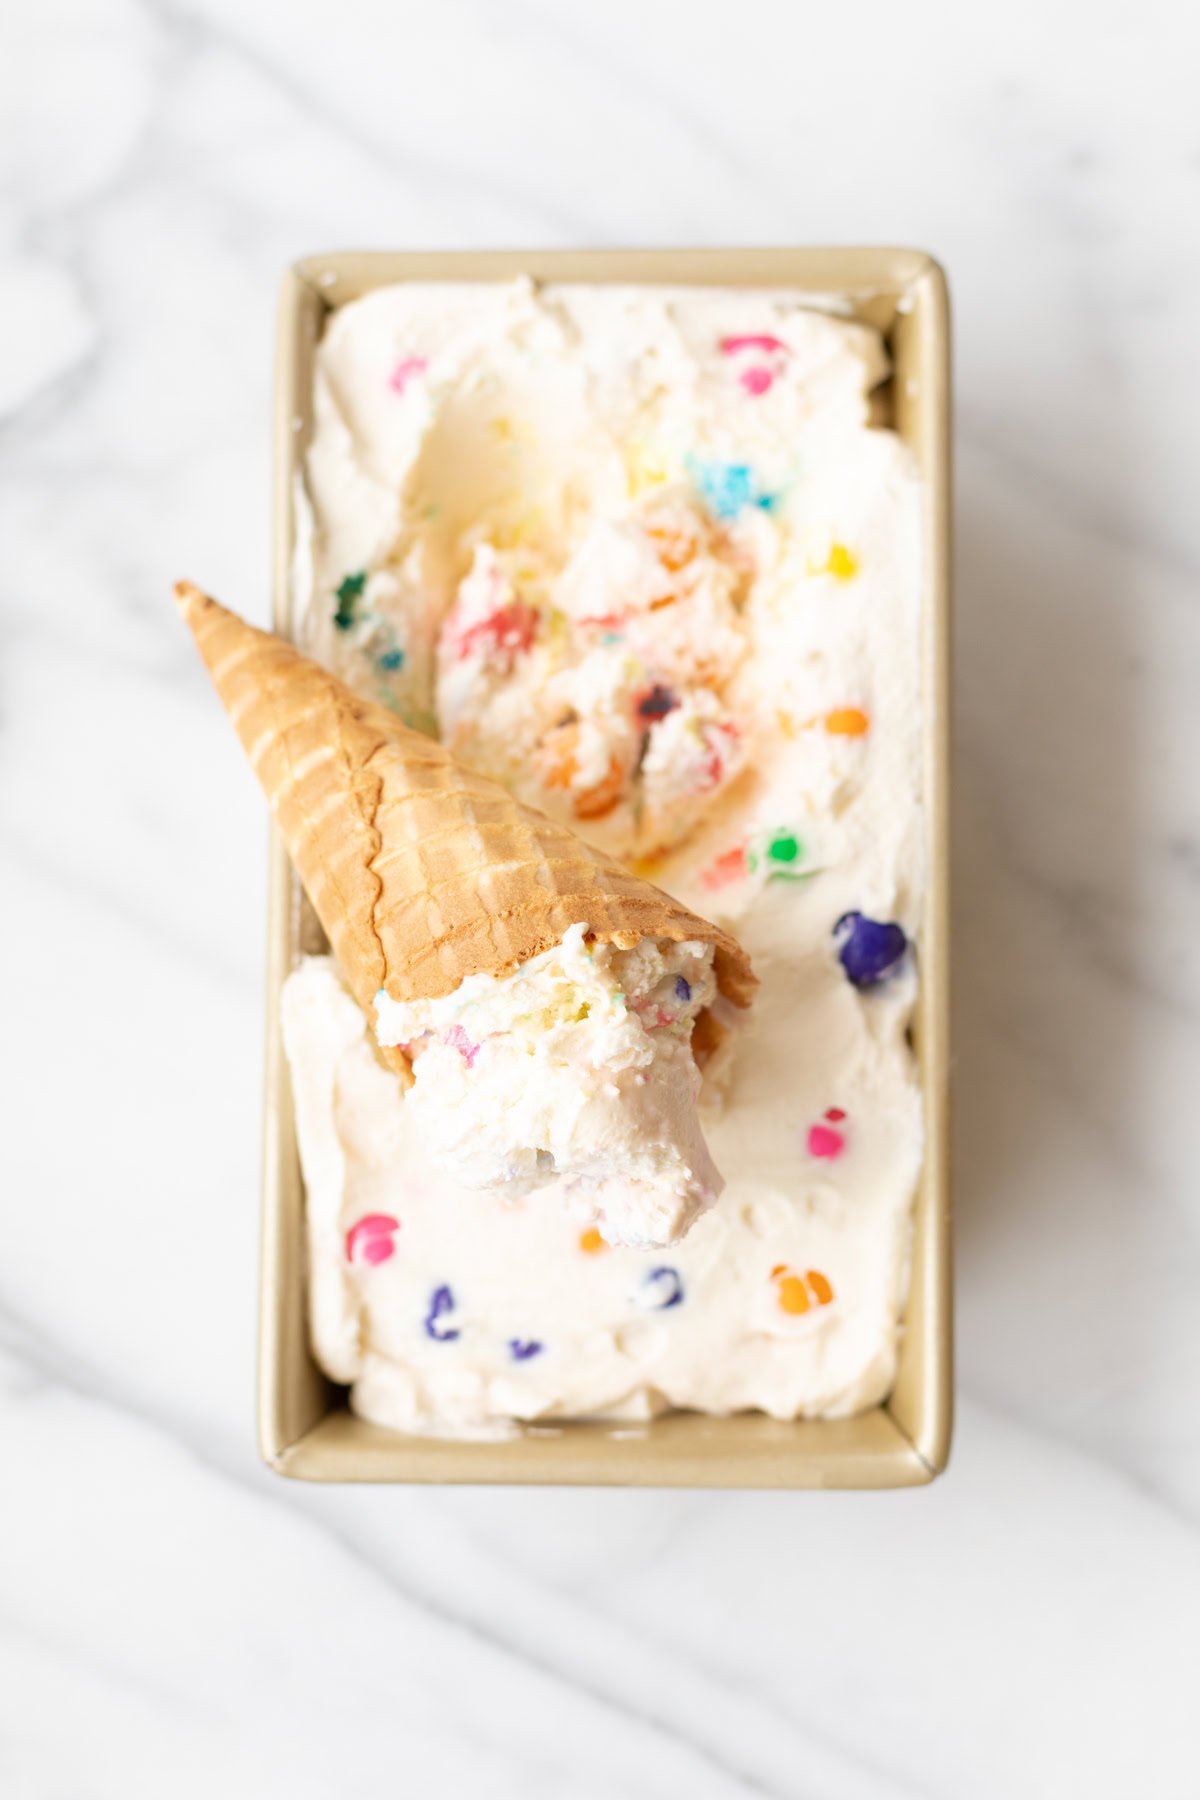
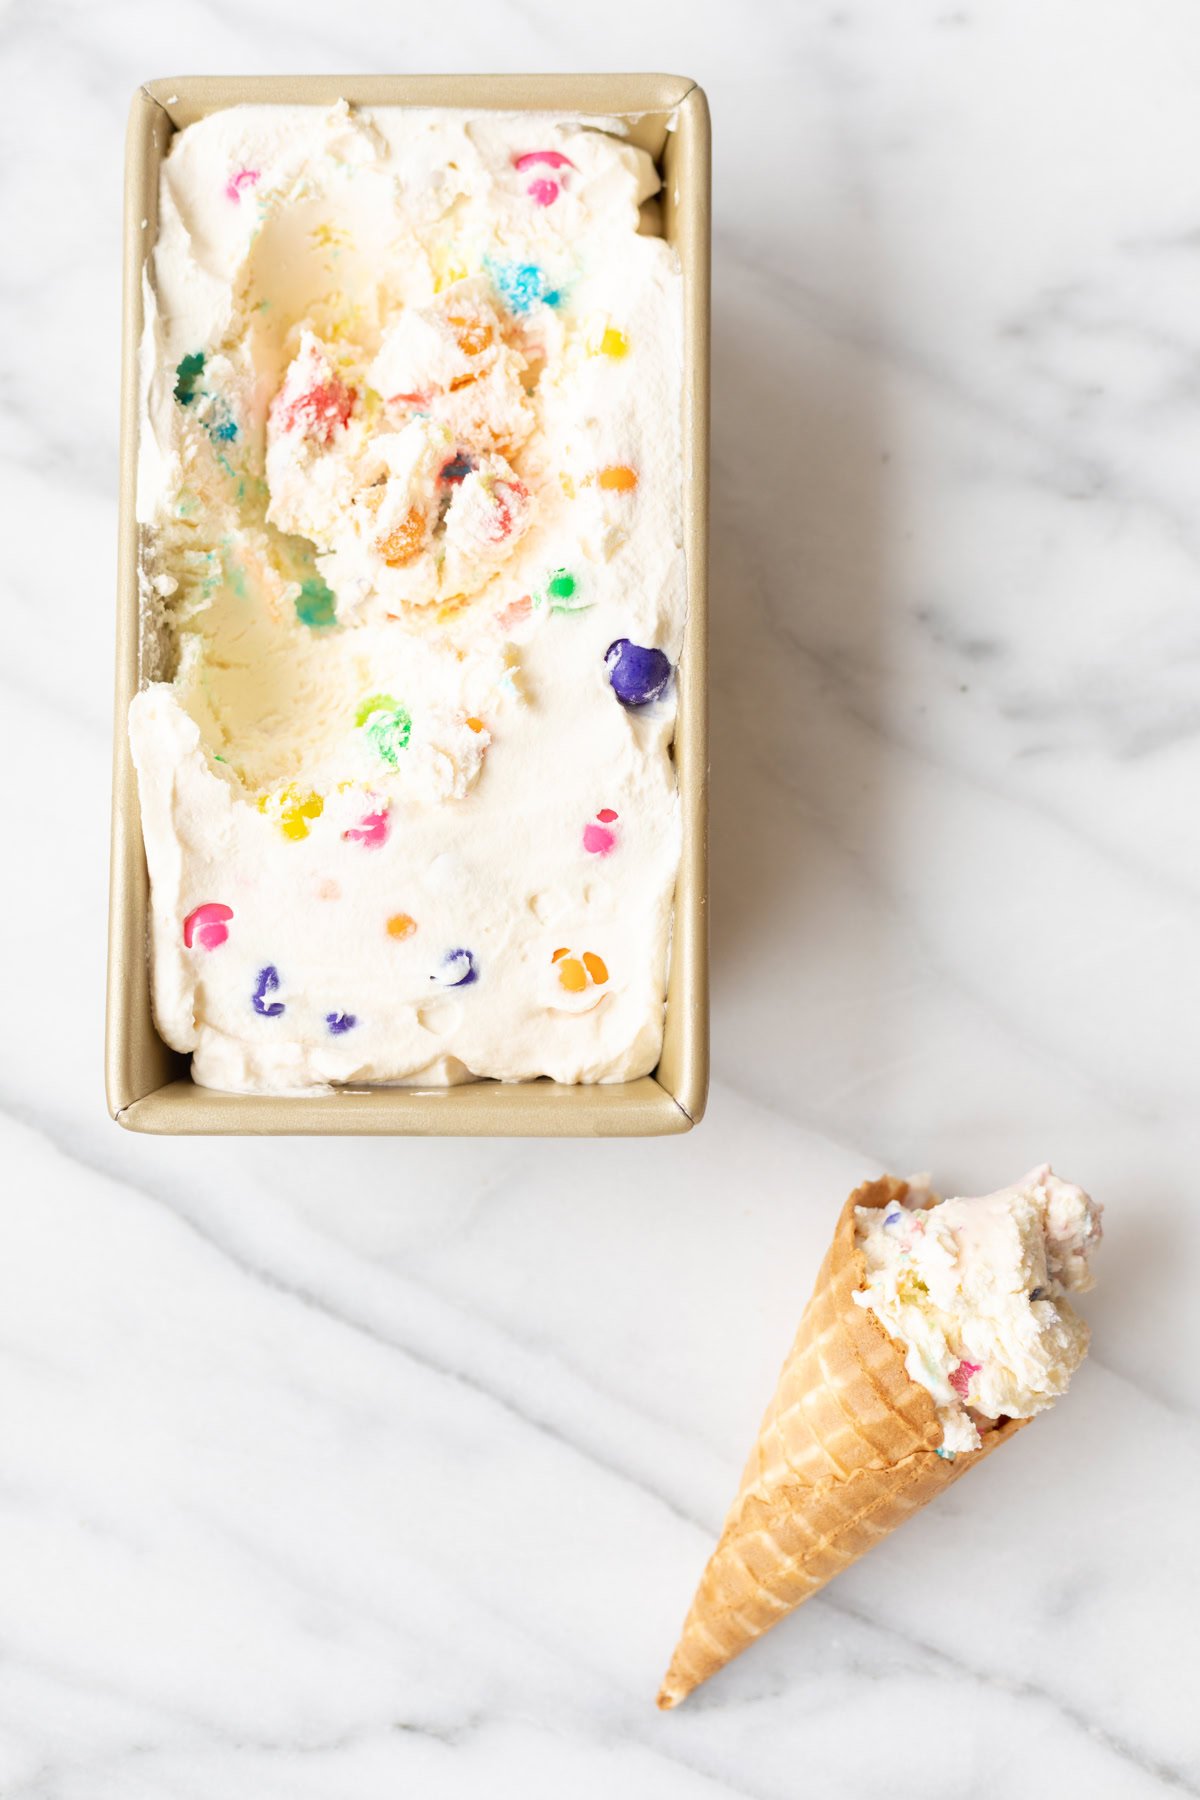
This can be made days in advance before you want to serve, but only needs 3 hours of freezer time if you’re in a hurry! Try using mini loaf pans if you want it to freeze quicker.
Serving Suggestions
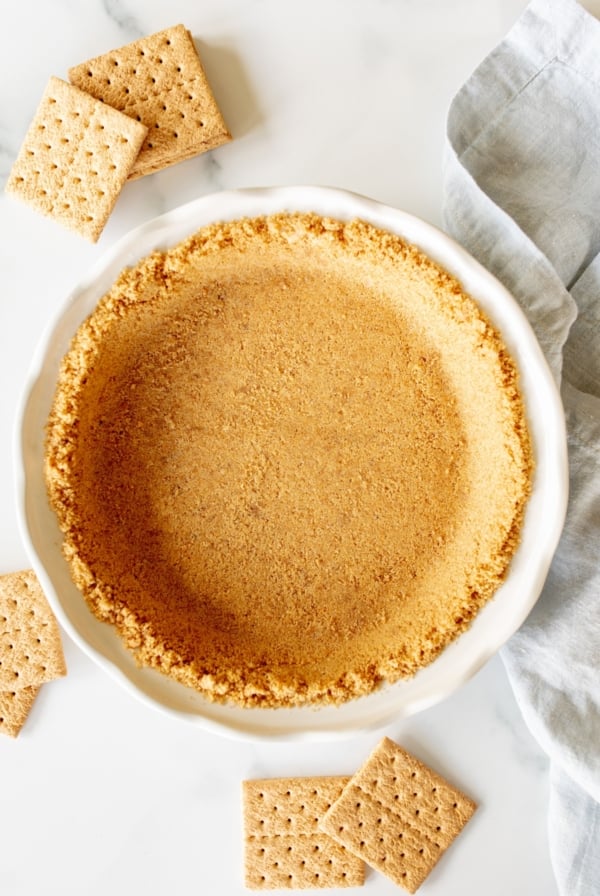
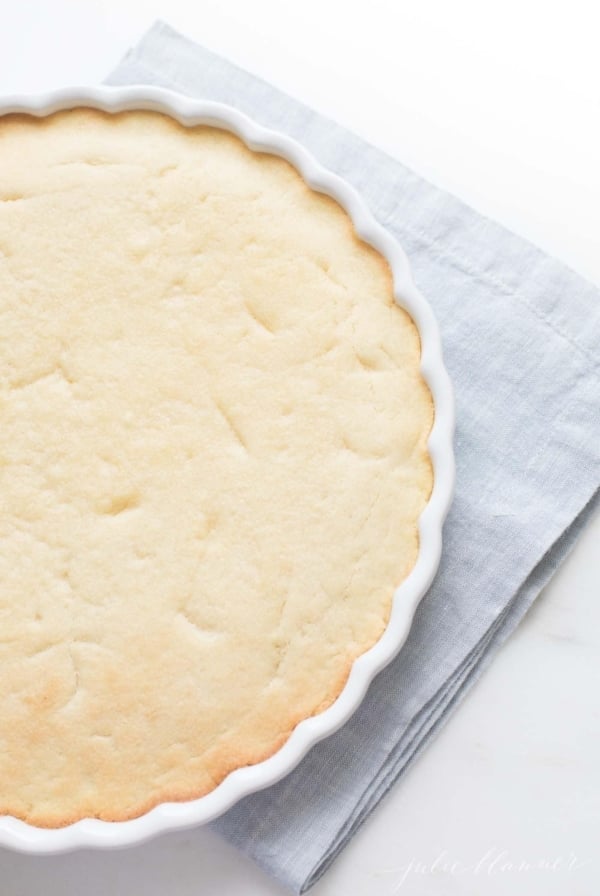
Of course magic shell is amazing on this ice cream (and pretty much every ice cream). Or, try making an ice cream cake with one of these crusts, or add a topping.

Bubble Gum Ice Cream
Ingredients
- 2 cups heavy whipping cream
- 14 ounces sweetened condensed milk
- 2½ ounces bubble gum flavor
- 1 ounce bubble gum balls chopped
Instructions
- In a mixing bowl or stand mixer fitted with the beater attachment, whip heavy cream until stiff peaks form.2 cups heavy whipping cream
- Blend in sweetened condensed milk and bubble gum flavor.14 ounces sweetened condensed milk, 2½ ounces bubble gum flavor
- Fold in bubble gum with a spatula.1 ounce bubble gum balls
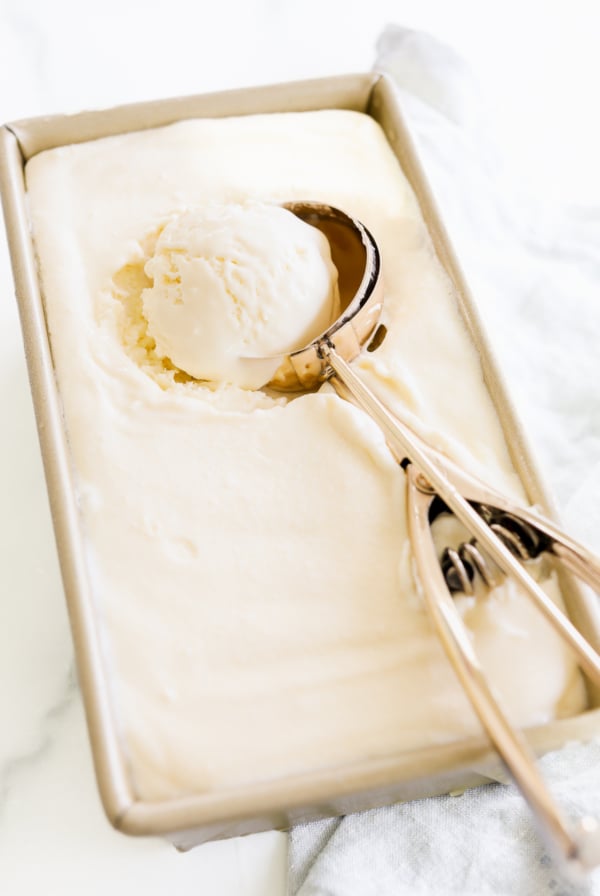
- Pour into a loaf pan or baking dish and freeze until solid (about 4 hours).
Julie’s Tips
- Ice Cream Maker – Use a traditional ice cream maker or a mixer attachment so it’s ready to enjoy right away!
- Make it pink or blue with a few drops of food coloring.
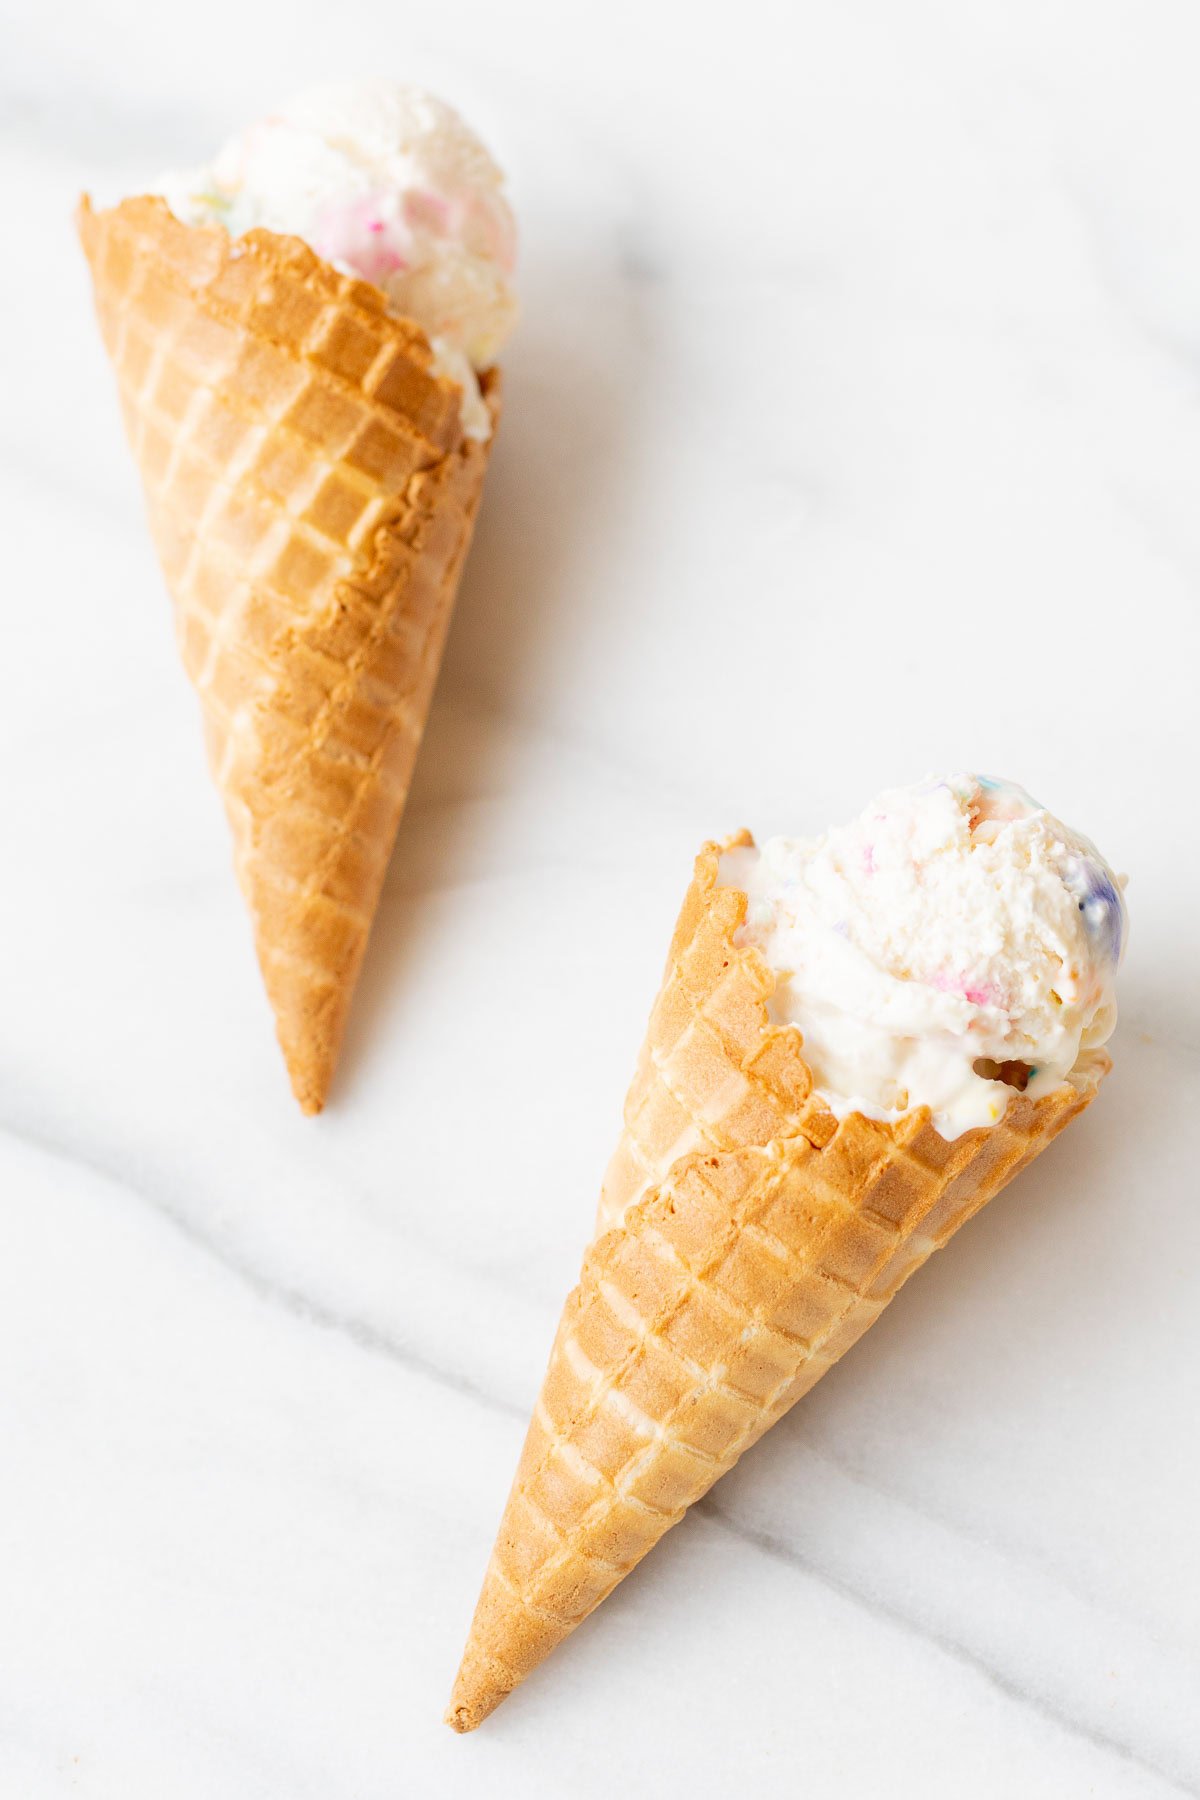
- Waffle cone or sugar cones are a favorite way to serve this ice cream but certainly no flavor will be lost if served in a bowl!
- This can be made days in advance before you want to serve, but only needs 3 hours of freezer time if you’re in a hurry! (Try using a mini loaf pan if you want it to freeze quicker).
To Store
Freeze – Freeze for up to two weeks in an airtight container for the freshest flavor.Video
Estimated nutrition information is provided as a courtesy and is not guaranteed.


This ice cream reminds me of the kind I used to eat at a kid! It’s perfect!
I LOVED making this ice cream!! Bubble gum ice cream was always my choice at our local Boyd’s Dairy in Ames, Iowa! I had to make it as soon as I found your recipe. Such a delicious blast from the past!
Did you have icecream bubble gum. by to the store. Just tell me it.
Fun fun recipe!
That video is too adorable! Love no-churn ice cream!
Thanks, Leah!